
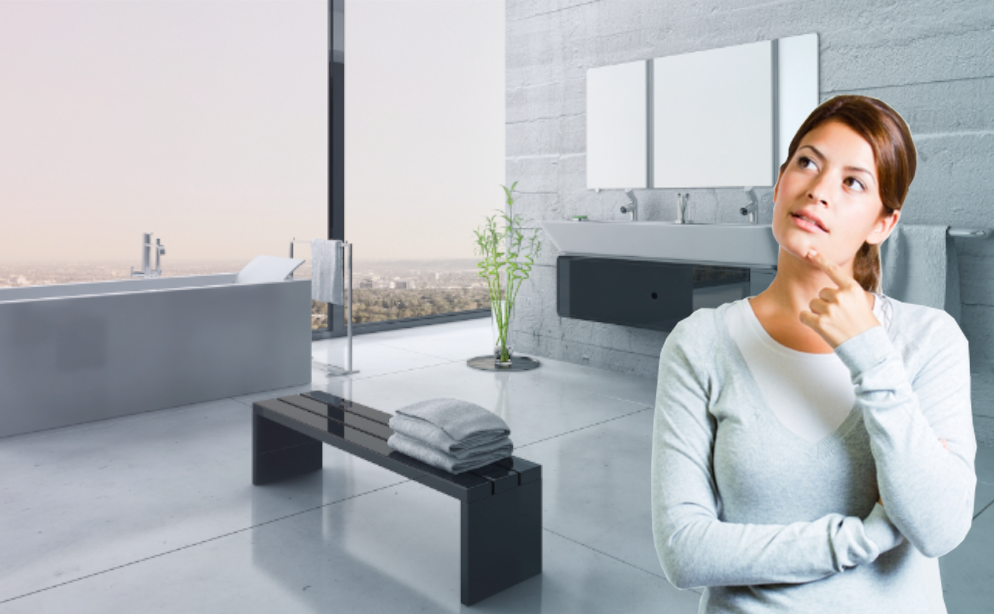
Thinking of changing, renovating or rejuvenating your bathroom?
Whether your bathroom is a place of sanctuary or a hub of activity at bath time, all bathrooms eventually become tired and in need of some love and attention. From a lick of paint to a complete overall, rejuvenating this much used room can be daunting. Follow our step by step guide and you will soon be relaxing in a haven of silky soft luxury water:
- Step 1: Budget.
- Step 2. How will you use your bathroom?
- Step 3. Time to speak to a professional.
- Step 4. Time for reflection.
- Step 5. Decide on who is going to do what?
- Step 6. Finalise the budget.
- Step 7. The big day.
- Step 8. Before you enjoy.
- Step 9. All done.
- BWT products that can help
After the kitchen your bathroom is probably one room you can’t do without for very long and your planning needs to ensure you have use of other facilities whilst any work is in progress and any items are disconnected for the least time possible.
Making the right decisions at the planning stage is important for you, your family and lifestyle. The right choice of suite, layout, colours, tiles and floor covering will all help to create a bathroom renovation that is desirable and practical. Getting it right at the planning stage can also add value to your home and its salability in the future.
Painting and the addition of new accessories can make a big difference and probably within the scope of most us but changing a suite or complete renovation can be tricky and might be best left to the professionals.
From our experience it is often difficult to find the right place to start but our easy to follow guide will hopefully give you some guidance, get the planning underway and help you through to the space of your dreams.
Step 1: Budget

Many people plan first and budget second, inevitably this leads to disappointment when your dreams exceed the money you have to spend. At this early stage set some boundaries and allocate a sensible amount to the following areas of your project: bathroom suite, taps and showers, tiling, floor coverings, and labour. It is worth remembering that if you are renovating or even simply changing a layout you may need a variety of tradespeople or a specialist company.
Step 2. How will you use your bathroom?

With the reality of the budget in mind, it is time to look at the practical aspect of your bathroom, not just for today but for the future as well. While a bathroom renovation isn’t for life the average time between make overs is over ten years. Children grow up and a safe environment for family bath time may not be compatible with a family of young adults.
Thinking of how you will use your bathroom will help you focus on what’s important to you. Will it be a retreat at the end of a busy day in which to relax or as a busy shower room in the morning rush? From the choice of bath or shower to the decorations and floor covering. Ceramic floor tiles are hard wearing but not so kind to little ones who tumble or the stability of those in later years.
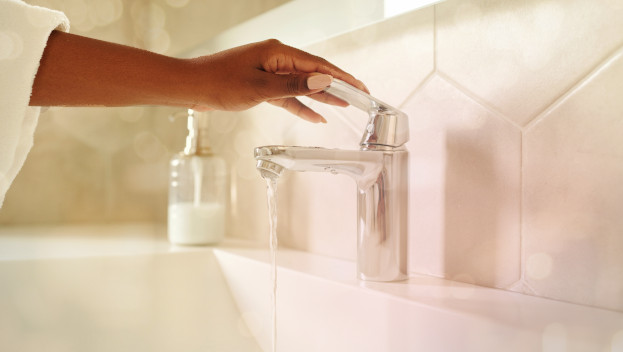
How much time do want to spend cleaning your new room? Adding luxury water will banish limescale and allow you to spend less time cleaning and more time relaxing.
If this isn’t your forever home think to the future and ripping out traditional bathrooms might seem like a brilliant ideal today and idea for your lifestyle but a family home without a family bathroom could make your home harder to sell in the future.
Step 3. Time to speak to a professional.

Having thought long and hard on how you will use your new bathroom it’s time to get those ideas down on paper. The internet is a great place for ideas, as is your local bathroom renovation showroom. A quick measure up is a good place to start but it’s worth remembering that you don’t have to change your existing layout if it works for you or the space you have available. Make a note of your existing layout not forgetting to mark on the location of doors, windows, radiators and even light switches.
Think about the style of bathroom you want and add a note to your plan. Now is the perfect time to speak to a professional. The designer at your local showroom will be vital in bringing your plan to life. Their experience will help them to show you how to get more from your space and to spot any likely problems. Their knowledge can be invaluable in finalising your layout, your style of the suite or spotting something you may have forgotten. Being local, your designer will also know about the local water conditions and can advise on little things like shower screen coatings or water softeners that will help to keep your bathroom renovation looking new for longer.
A visit to the showroom is also the perfect place to pick up ideas and to actually touch and feel the quality of the products you are considering. Modern planning software and the designers’ experience will be invaluable in coming up with a final design. It is worth remembering that larger showrooms can make the items appear smaller than they will be in your own home so be realistic when the designer commits your ideas to paper. The planning software will take in to account manufacturing and installation tolerances and if it says your dream shower won’t fit then most likely it won’t without changing something else.
Step 4. Time for reflection.

Don’t jump in, no matter how good the offer is on the day. Take your time to look at any plans you have come away with, review the choices you have made regarding the bathroom suite, the accessories, the decoration and any alterations you may need to make to the fabric of your home.
Step back and consider the practicalities of your new bathroom renovation. Where will the mirror go, where will you store those things that need to be put out of reach of little hands and mouths. Is the lighting the appropriate choice for how you will use the bathroom and will that designer radiator really provide the warmth you need? Is it the right time to add Luxury Water to your plans, softened water will help you to protect your new investment from premature ageing.
The internet, blogs, magazines and reviews are a great place to see the solutions that other people like yourself have arrived at. Trendy solutions don’t have to be expensive and equally may not be practical for your space. Consider multi-functional solutions like an illuminated mirrored storage cabinet, LED mood lighting LED’s, handy storage and that all-important mirror in one piece of furniture.
Step 5. Decide on who is going to do what?

The cost of your project will decide not only on the choices you have made up until now but also on who is going to do the work. Many specialist bathroom renovation showrooms will offer a turnkey solution from supplying your choice of products to the installation and final decoration. Many local plumbers will offer a similar service, whilst others will prefer you to supply the products. You might choose a bespoke tradesperson for each area of your renovation and so your list may include: a plumber, an electrician, a tiler, a decorator and maybe a builder. Or you may decide to do some or all of the job yourself.
Remember if you are using more than one trade then someone will need to manage the project and ensure the work is done in the right order and on time. It is vital to have a schedule of work for each person involved and don’t forget to ensure someone is removing the rubbish!
Step 6. Finalise the budget.

Whichever route you have chosen it is now time to finalise the budget. Choose your partners wisely and always get more than one quotation including payment terms and check delivery times with your supplier before booking in the job with any tradespeople.
If you don’t already have a tradesperson in mind, the internet is a gold mine of trade directories, many with reviews and testimonials from happy and in some cases not so happy customers. Your local bathroom showroom may also have a list of local trades if they don’t offer their own installation service.
When making your final choice take the opportunity to talk in depth to them about the products you have chosen, timescales and the level of finish you are expecting and get their commitment in writing and avoid one line quotations that say ‘Install bathroom’.
With your bathroom renovation plans chosen and your quotes all in it’s time to grab your calculator for that all important final figure. Most people add up as they go along and if you are one of these then the final figure won’t be a shock. If it’s more than you allowed then it’s time to review and to see where saving can be made. Try to avoid choosing form over function when revisiting the budget leaving out vital limescale protection like a water softener might seem an obvious choice. Yet could be an expensive mistake as the Luxury water it produces will help protect sanitary ware, glass and ceramics. Whilst Choosing a simpler shower is probably a better solution than no shower at all.
Make sure your final budget includes those all-important peripherals like tile cement and grouting and waste traps for your sinks, baths and showers and don’t forget bulbs for the lights. Happy? Then it’s time to organise your tradespeople and deliveries.
Step 7. The big day.

Prior to the big day and work starting it’s time for a final check. If you have gone for a turnkey solution then a simple call to the showroom is all that is needed to set your mind at rest that the weeks of planning are finally coming together. If you have chosen to use a variety of people then a phone around may take a little more time but will be very worthwhile in putting your mind at rest.
Make sure you have cleared a space to store any items that may arrive before they are needed as even with the best planning it’s not unusual for goods to arrive early or the job to run a day behind schedule.
When your goods arrive they will often be delivered in protective packaging making an instant detailed inspection difficult BUT check for the obvious damage like crushed boxes or tears and make your delivery driver aware before they leave. Photograph the damaged areas and carry out a detailed inspection as soon as possible.
Make sure everybody understands when the water will be switched off during the day and that unless you have chosen to move out during the refurbishment that it needs to be switched back on before the trades people leave for the day. Taking out an old bathroom can be very dusty so please ensure any adjoining doors are kept firmly shut to minimise the dust around your home.
If you live in a hard water area and have chosen to protect your new bathroom renovation with a water softener the installer will, at some point during the build, need access to the kitchen as this is the most common place for it to be installed.
Step 8. Before you enjoy.
As the job progresses make time each day to check the standard of work and that things like the layout are what you asked for. Raise issues as soon as they arise to minimise any rework necessary. When the job is complete thoroughly check the job before signing it off. Most reputable contractors will not expect final payment before you are happy. Remember to check the obvious as well, does the shower work, the lights on the mirror and the toilet? Finally has all the rubbish been taken away? Holding on to any final payment isn’t unreasonable if there is work to be finished in line with the agreed schedule. Register your guarantees and if you have chosen a Luxury Water softener request your free commissioning.
Step 9. All done.

Enjoy your new bathroom renovation and if you have taken the opportunity to protect it with a water softener, like a lot of modern hotels do, then it will stay looking like new for longer, be easier to clean and ensure however you use your bathroom it is perfect for you, your family and home.
By Ian Fraser our Marketing Manager
BWT products that can help
If you are suffering from hard water, investing in Luxury Water can make a real difference to your home and lifestyle. The BWT Water Softener is the small investment that make your bathroom renovation last longer.


UK Bathrooms and Kitchens – Find the right company on the Business Directory UK